For those of you who haven’t heard about GNU Screen, it is a window manager that multiplexes a physical terminal between several processes, typically interactive shells. It allows you to start, retain, attach and detach to a session across different connections.
In lay man’s terms, it’s a life saver when you have to work on remote devices over flaky networks. It is a simple tool that does one thing and does it extremely very well.
So far the only annoyance I have had with screen is its behavior when home directory encryption is enabled. But this is not all that big a deal breaker, as most people don’t turn on home directory encryption (except may be accidentally, or when they need to share the machine with some other users), they encrypt the whole drive.
I spend a lot of my time on remote machines. Be it my development server, or the deployment environment all of it is done through a SSH connection to the remote host. At times, these remote hosts are across the globe on another continent. This is really where it gets super annoying, as you have to type something expect it to be there in the next 2 seconds and typos are an expensive mistake.
What are we trying to solve?
To give you an idea of what I am taking about, let’s say you have a development server, where you initiate a build. A clean build on my current project (when I last timed) takes little over 40 minutes and incremental builds take up to 2 minutes (for this, I believe the poor make rules are fault).
Now, lets say you start a SSH connection and initiate a clean build. For the sake of this discussion we will assume that you don’t know how to keep an SSH connection alive indefinitely and your connection is interrupted. Or you were moving your laptop around and your wireless card roamed away to another SSID and you lost connection.
You will notice that the make process that you initiated receives a hang-up signal and dies with your connection.
One obvious and not so great way to deal with this is to start is with nohup and push it to background with a & like this.
$ nohup make &
This does work, in the sense that it will discard the hangup signal and persist even after the connection has ended. But it doesn’t actually help if you were editing some file or if you needed more than just one TTY. This is where screen comes into picture and far exceeds expectations.
GNU Screen
Your work flow will be like this, login to remote machine and then start off a screen session and then start doing your works in that session. If your connection gets interrupted, you don’t have to give a damn about it. Screen is still running in that machine. You can always ssh back to that machine and then reconnect that session to pickoff from where you left.
Screen Basics
The good thing about screen is, you just need to know a handful of things initially to get going. Once you’ve gotten a hang of these basic stuffs, you can always pick up more things as and when you need them. So let’s dive in.
Screen is not installed by default in most distributions, so you must use apt or yum or brew to install it.
Not surprisingly, you start a screen session by using the screen command on a shell.
$ screen
Screen key bindings
Once you hit screen, you are inside a screen session. The key binding prefix for screen is Ctrl + a. Any character followed by this sequence is interpreted as a command to screen.
For example, to detach from the session, you will have to press Ctrl + a, and then press d. The screen documents refer to this sequence with C-a d. This is of the form, C-a <command-character>
List, attach and detach screen sessions
You can You can use screen -ls to see the screen sessions that are active. Since we have started only one session so far, your output will list only one session. The following is an example of a screen listing.
There is a screen on:
    13866.pts-7.extrops (Sunday 11 June 2017 04:13:31  IST) (Detached)
1 Socket in /var/run/screen/S-siddharth.
Currently there is only one screen running in my computer, so the listing returns only one socket. You can create as many screen sessions as you wish and when you do a screen -ls you will notice that there are more sockets listed in /var/run/screen/.
To re attach to the session we earlier detached from, you can do,
$ screen -x
If there are more than one screen sessions, you will not be able to do screen -x directly to attach to a session. You have to add the screen’s name to the reattach command to explicitly state which screen you want to attach to. In this case you will have to do a screen -x 13866 to reattach to that session.
Screen window management
The best thing about screen is, it’s ability to spawn of more than one TTY. In the same session, you can start off may windows. Screen starts one window when you create a session. After this you can use C-a c to create another. And move between those windows by using C-a C-a.
Now you can be in one directory in one and another in the other window. To see the list of windows, you hit C-a " and move up and down in the list to choose one. Once you are done, you can kill that window with C-a k, you will be asked for a confirmation to kill the current window. Here is a small subset of key bindings that you need to know to get started with screen.
| Key Binding | Description |
|---|---|
| C-a c | create new window |
| C-a C-a | switch between the last windows |
| C-a NUM | change to window by number, NUM |
| C-a n | change to next window in list |
| C-a p | change to previous window in list |
| C-a “ | see window list |
| C-a k | kill current window |
| C-a \ | kill all windows |
| C-a A | rename current window |
This is not a full list of key bindings. There is an overwhelming number of key bindings in the screen manual do have a look at it once you have internalised the basics.
Customizing screen with screenrc
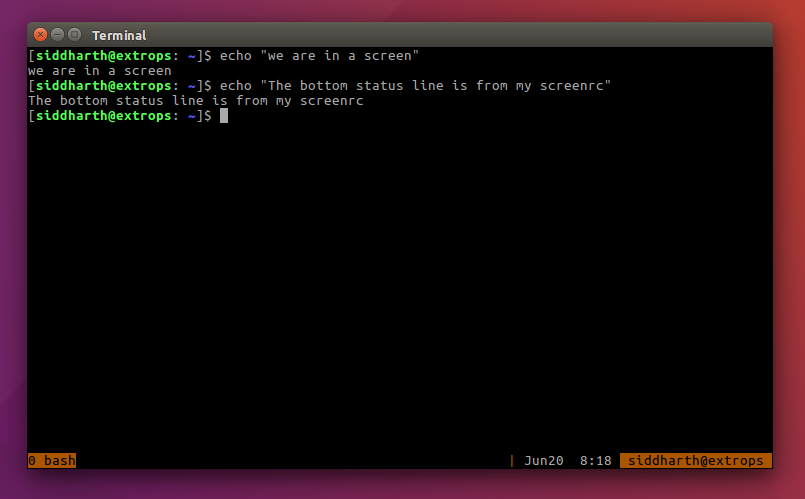
Like vim and bash, the runtime behavior of screen can be customized with a screenrc file in the home directory. The following code block is the contents of my screenrc file, I have been using for years and it works like a charm.
If you are a screen beginner, then this is a good starting point. Copy the following lines to ~/.screenrc and checkout its effects.
startup_message off
term screen-256color
setenv LC_CTYPE en_US.UTF-8
defutf8 on
setenv DISPLAY ':0'
nonblock on
vbell on
msgwait 3
defscrollback 10000
altscreen on

bind = resize =
bind + resize +1
bind - resize -1
bind _ resize max
bind x remove

hardstatus on
sorendition kw
hardstatus alwayslastline
hardstatus string "%{= ky}%-Lw%{=r}%20>%n %t%{= ky}%+Lw %{= ky}%-=| %{= kw}%M%d %c%{-} %{=r} ${USER}@%H "
What to start screen soon after login?
As you familiarize yourself with screen, you will notice that most of the time screen is the first command that you run after ssh-ing into the machine. The easiest way to achieve this is to add an exec screen -d -RR as the last line in ~/.bashrc. That works, but if there is some issue with screen and for some reason it won’t start, then adding this line prevents you from logging into your machine, causing a lot of trouble.
Alternatively, you could add the machine details to your ~/.ssh/config and add a RemoteCommand section to indicate that you would like to attach-to/create a screen session after login.
host my_machine
	HostName 10.10.10.1
	User sid
	RequestTTY yes
	RemoteCommand screen -d -RR
Now you could just do ssh my_machine to login to [email protected]. Neat right?
A word on tmux
There is one other tool—tmux—which is gaining popularity lately. I have tried using it and felt like a fish out of the pond, but I’m sure that was highly opinionated.
IMHO, tmux is trying to reinvent the wheel. Why spend all the developer effort in recreating screen when such energy can be channeled to perfect it? All they have managed to achieve is to cause fragmentation in community and user base. That said, I think screen is an amazing tool, being a screen user, I still can’t think of one good reason to switch.


